Manage Freelancers Bookings
To begin select the 'Manage freelancers bookings' tile.
This first screen you will see and will show all the freelancers linked to you on the 蜜芽传媒 System.

Click OK on the pop up.

Select the booking you wish to accept then select the accept bookings button.

You will now return back to the previous screen. Select the bookings to claim button.
Click OK on the pop up.

The booking has now been accepted and claimed.
View claim history
To view bookings previously claimed on the system for a freelancer, select the freelancer first then select Claim history.

Select OK on the pop up window.

A list of all claimed payments and booking details will appear.
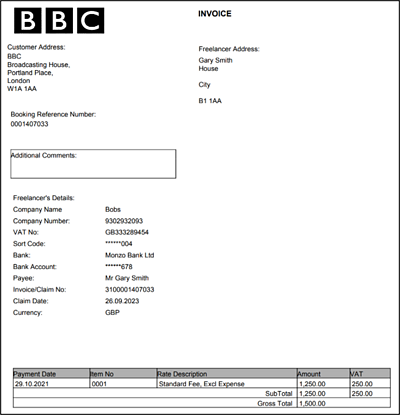
To download/print an invoice in a PDF format, select the PDF button on the right hand column.

This is an example of a PDF Invoice downloaded.
Avoiding delays in receiving payments
To avoid delays in receiving payments, ensure the following steps have been completed.
- Right to work has been submitted prior to your engagement start date
- Demographic information tile has been completed
- In receipt of your booking contract
- Bank details have been entered on the system
Accessing the Freelance Payment Portal via 蜜芽传媒 Connect
To access the system ensure that you have:Registered for the two-factor authentication solution, , to access the Freelance Payment Portal.
Before accepting a booking
Emails you should have received prior to accepting your booking on the Freelance Payment Portal:
- Email 1 confirms your booking
- Email 2 invitation to register for 蜜芽传媒 Connect multi-factor authentication